


Let me start by telling you why I had such a need for this thing. Every day, we have an office assistant. This person is a student that sits at the front desk all day and helps the office staff. This is an award that they earn. Anyhow, as parents call the school with messages for their child, the Secretary writes a note with the message on it. Most of the time, this message is an alternate way for the student to get home from school. The office assistant is the one that brings the note down to classroom and gives to the teacher. This is where the need of a message board comes into play.
If I am up front, teaching class when the office assistance comes in, they will walk over to my desk and lay the note down. Though I really try to make a mental note to get the message off my desk before it is swallowed and never be seen again, sometimes, I don't make it there. Therefore, the panic sets in about that child and if they got home the way they were supposed to. STRESSFUL!
To eliminate this concern, I needed a message board to hang by the door. This way, as the office assistant comes in, I can simply ask them to pin it to the board - saving it from the black hole, aka my desk. Recognizing this need, I set out to make it happen!
I visited the local Good Will store and found this. I didn't need the photo, but the frame was just perfect!

Came home, took the picture out, and primed the frame. Underneath each corner of the frame, I placed a small rock. This kept the frame off of the paint board below, ensuring that the primer didn't stick the frame and board together.


Paint the frame the color you want. (ignore the toes sneaking into the pic.)

While the frame dries, I needed to cut my board to fit into the frame.
Extra Info: I didn't have cork board and to purchase it, it was going to be more expensive than I wanted to spend. So I went to Lowe's and purchase a sheet of insulation Blue Board. This is a foam board that was 4 ft x 8 ft and for the entire sheet, was $13.22! This allowed me to cut the foam the size I needed for the frame and have a lot left over for any other projects I may have in the future. ;)
Back to the message board, I needed to cut the foam board to fit the frame. I got the picture that I had taken out of the frame and used that as my template. I used my razor blade to cut the paper on the side of the foam board. By cutting just the paper, I was able to bend the foam back and it breaks right on the line that I had made with the razor! Super easy!

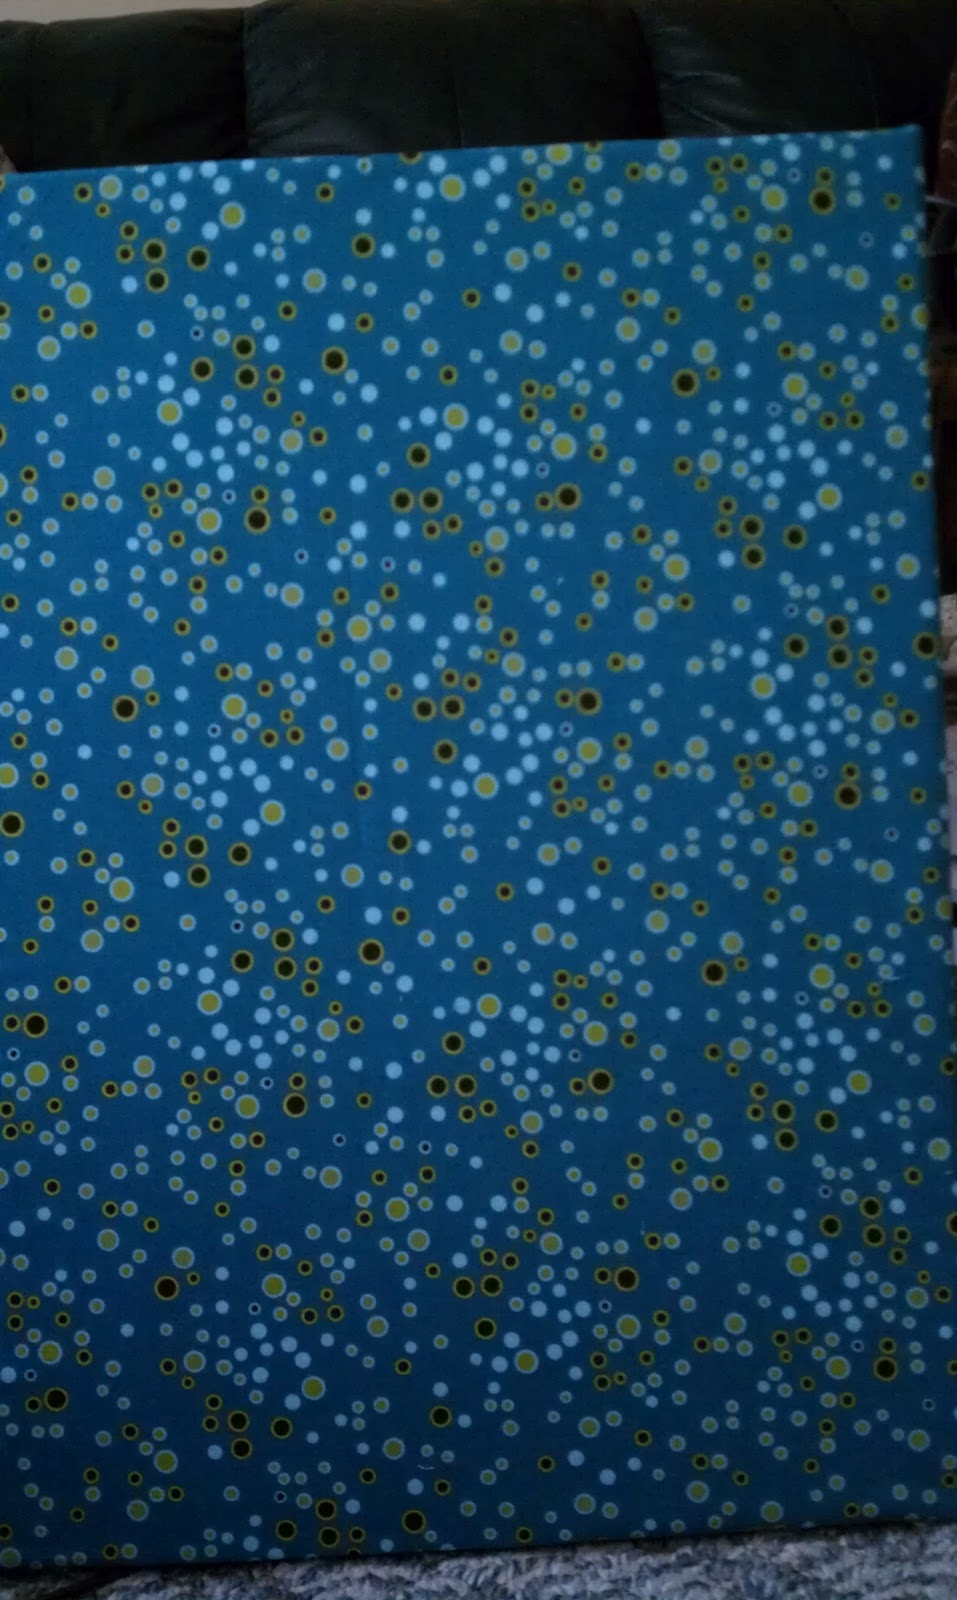
I covered the foam board with some fun fabric. I used Fabri-Tac as my adhesive. I didn't know if staples would eventually come out since I was using foam, so I went with the fabric adhesive. It worked great. The important thing here is to make sure that the fabric stays tight on the front.

I placed the board in the frame and used small tacks in the back to ensure it stays in.
No comments:
Post a Comment
Thanks for stopping by!