Wednesday, August 22, 2012

Stations?

I need help! 

Now that school is underway, I want to begin planning stations for my students to rotate through.  This is what I'm thinking:
I want to have 5 stations.  This will be one station for each group, a day.  By Friday, all the students would have visited each station.  I am planning on 30 - 45 minutes for each station. I have a rough draft of topics, which will help align with the new Common Core Standards
-social studies (global awareness)
-vocabulary
-teenbiz3000 (which is a new textbook based program online) (media fluency)
-current events (effective writing through journaling)
-SRAs (informational text)

These are just a few ideas.  I have 5 Ipads available to me, most of the time.  There are 4 student computers in my classroom. 

I'm interested in hearing from you.  What do you do for stations, centers, whatever you call them....
:)


Monday, August 6, 2012

Currently in August

Whew... summer is over and school begins in just t-t-two days! Honestly though, I don't really mind school starting.  It gives me routine and normalcy.
Check out what I've been doing "currently".


B2S Must Haves

*Electric Hole Punch* This year, my students will keep a notebook with all journals, vocabulary lists/definitions, and handouts.  I would not even think about doing this without a hole punch being available in my classroom.  Therefore, in my opinion, there is no other way  to go other than using an electric one.  We have one in the teacher workroom and it is pretty amazing! :)

*Stocked 1st Aid Drawer* Though we have a school nurse, most of the time, I still gave out my share of band-aids. This year, I decided that the students are very capable of cleaning their wounds without me.  So I have stocked the drawer beside the sink in our room with band-aids, neosporin, peroxide, and cotton balls.

*Leader in Me by Steven Covey* My principal introduced this book to me.  This book emphasises a culture of student empowerment through developing leaders with 21st century skills. 


Monday, July 16, 2012

In 2 Places at Once


This year, our schedule is going to be a little different.  Previously, we have had five - one hour, fifteen minute classes, beginning at 8:10am. 

This school year, we will use the 8:10 - 9am time as a remediate/enrichment time.  During this time, those of us that teach a county-wide reading program, LMB will teach our small groups, while an essential teacher (PE, music, computer, art, band) will facilitate my class of students. 

My team teacher and I were discussing that I will be in my classroom with my students every other week as she and I share a LMB group and teach a week at a time.  Our interest was coming up with a way to ensure that both classrooms received the same instruction regardless to the teacher that was in the room.   It isn't that we felt as though the essential arts teacher wouldn't be able to fill this role, but it is possible that the teacher may not feel as confortable teaching LA or Math on their own. 

Therefore, we will be using our Ipads (new to our school). We will turn on the active board and place the Ipad underneath the document camera.  Each classroom will have an Ipad and will Skype with one another. This way, the teacher in the other room will be able to be viewed on the activeboard and provide the same instruction to both classrooms. 

We are excited to give this a try. I'll let you know how it works!


Saturday, July 14, 2012

Classroom Rules

This summer, I have created a Classroom Rules Poster for my classroom.  I wanted this to be fun and specific to my classroom. 

Most of the rules are pretty standard, but "Stay on the Green" refers to a strip of green tiles in the hallways, that students are to walk on when traveling throughout the school. 

You can do this too, simply be using different fonts and colors.

Monday, July 9, 2012

$10 Message Board

My Saturday project this weekend, was a $10 Message Board. 

Let me start by telling you why I had such a need for this thing. Every day, we have an office assistant.  This person is a student that sits at the front desk all day and helps the office staff.  This is an award that they earn.  Anyhow, as parents call the school with messages for their child, the Secretary writes a note with the message on it. Most of the time, this message is an alternate way for the student to get home from school.  The office assistant is the one that brings the note down to classroom and gives to the teacher.  This is where the need of a message board comes into play.

If I am up front, teaching class when the office assistance comes in, they will walk over to my desk and lay the note down.  Though I really try to make a mental note to get the message off my desk before it is swallowed and never be seen again, sometimes, I don't make it there.  Therefore, the panic sets in about that child and if they got home the way they were supposed to. STRESSFUL!

To eliminate this concern, I needed a message board to hang by the door.  This way, as the office assistant comes in, I can simply ask them to pin it to the board - saving it from the black hole, aka my desk.  Recognizing this need, I set out to make it happen!

I visited the local Good Will store and found this. I didn't need the photo, but the frame was just perfect!
Came home, took the picture out, and primed the frame.  Underneath each corner of the frame, I placed a small rock.  This kept the frame off of the paint board below, ensuring that the primer didn't stick the frame and board together. 


Paint the frame the color you want. (ignore the toes sneaking into the pic.)

While the frame dries, I needed to cut my board to fit into the frame. 
Extra Info: I didn't have cork board and to purchase it, it was going to be more expensive than I wanted to spend.  So I went to Lowe's and purchase a sheet of insulation Blue Board.  This is a foam board that was 4 ft x 8 ft and for the entire sheet, was $13.22!  This allowed me to cut the foam the size I needed for the frame and have a lot left over for any other projects I may have in the future. ;)

Back to the message board, I needed to cut the foam board to fit the frame.  I got the picture that I had taken out of the frame and used that as my template.  I used my razor blade to cut the paper on the side of the foam board.  By cutting just the paper, I was able to bend the foam back and it breaks right on the line that I had made with the razor!  Super easy!

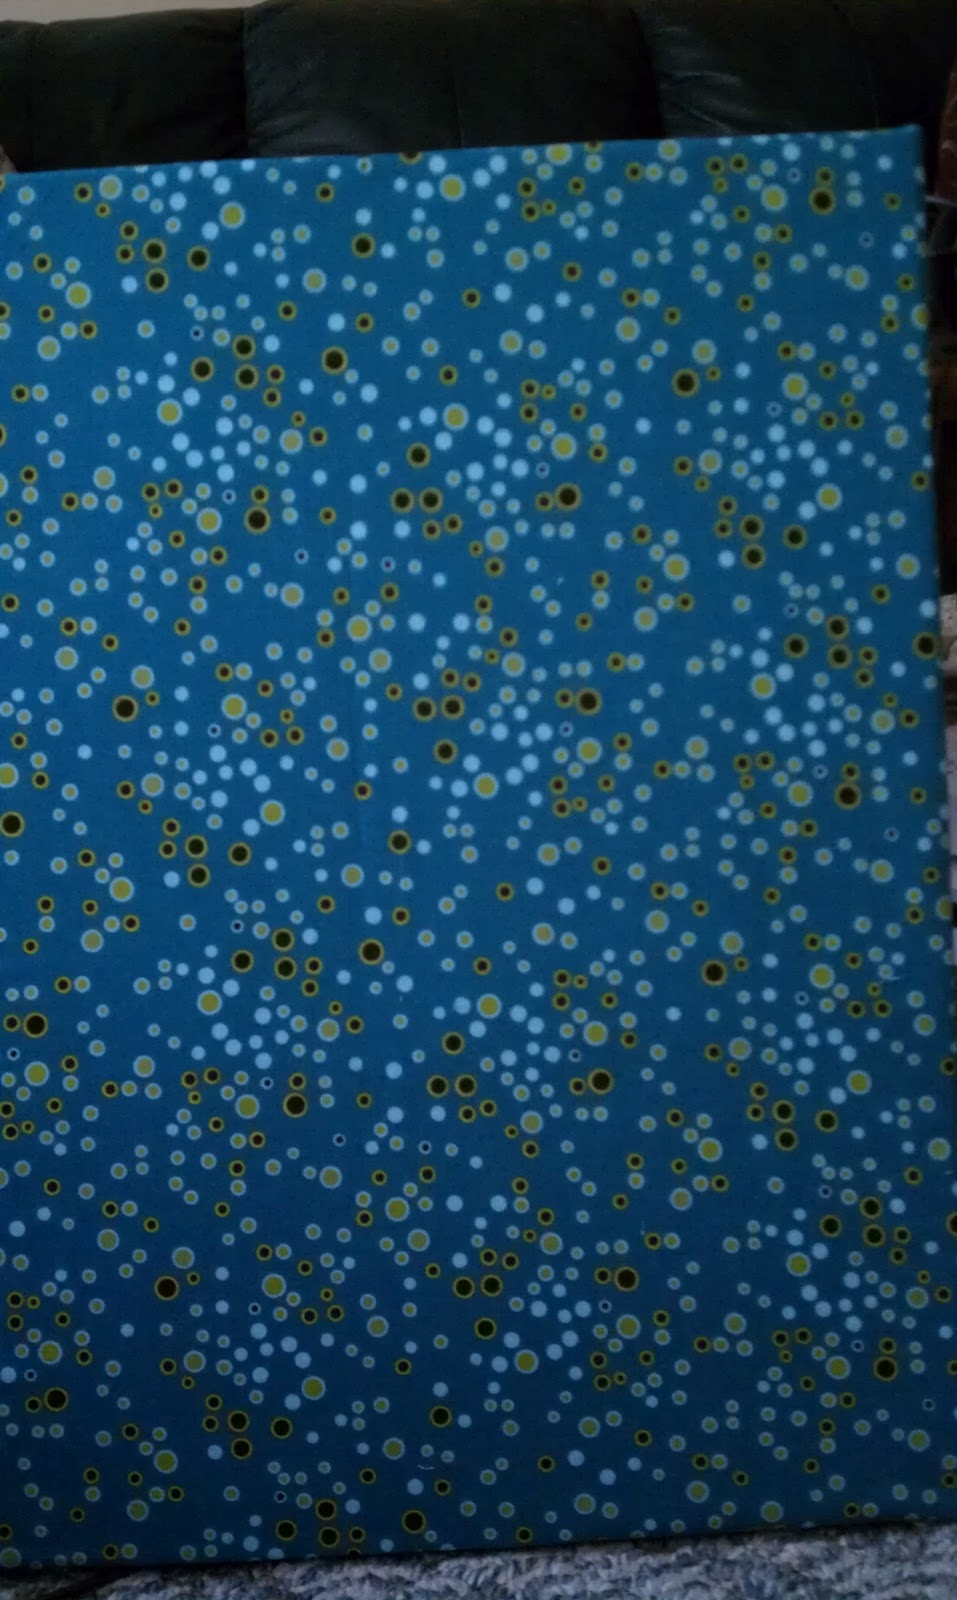
I covered the foam board with some fun fabric.  I used Fabri-Tac as my adhesive.  I didn't know if staples would eventually come out since I was using foam, so I went with the fabric adhesive.  It worked great. The important thing here is to make sure that the fabric stays tight on the front.


I placed the board in the frame and used small tacks in the back to ensure it stays in.